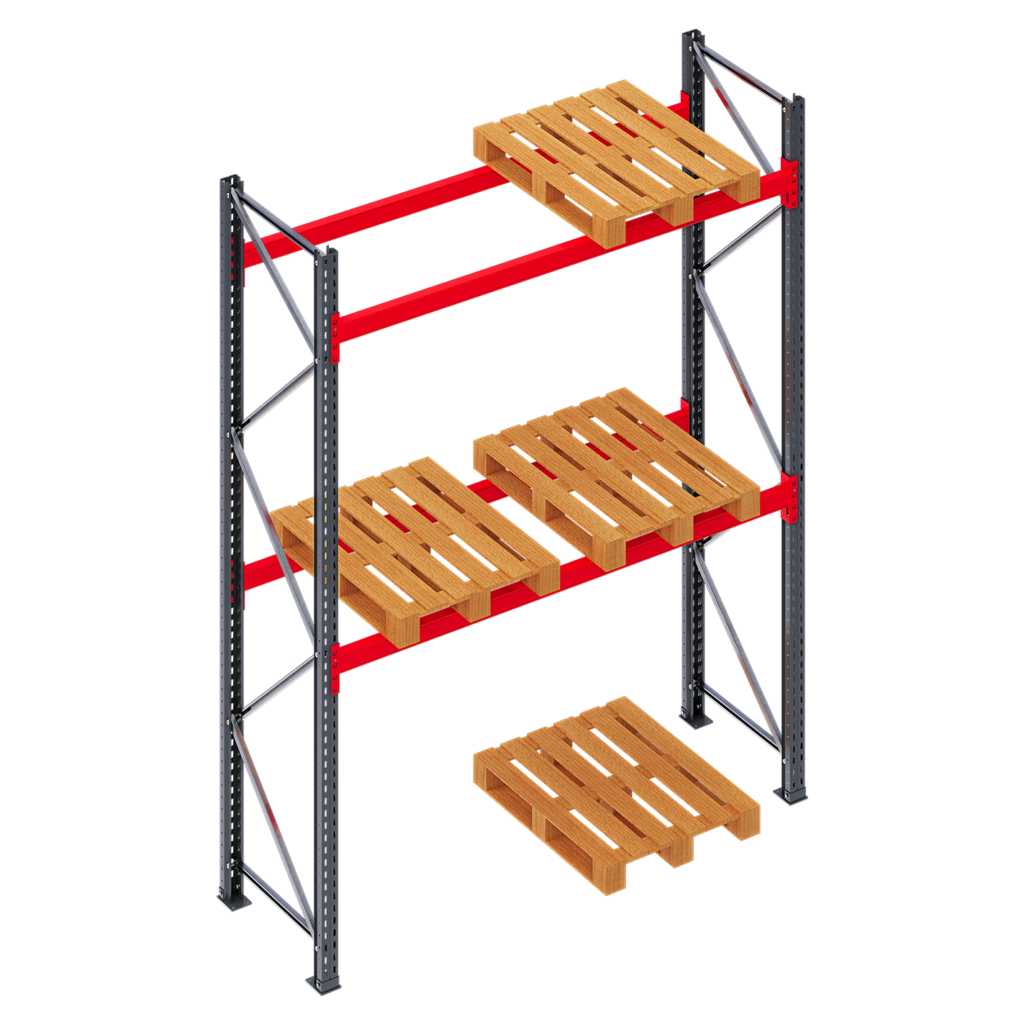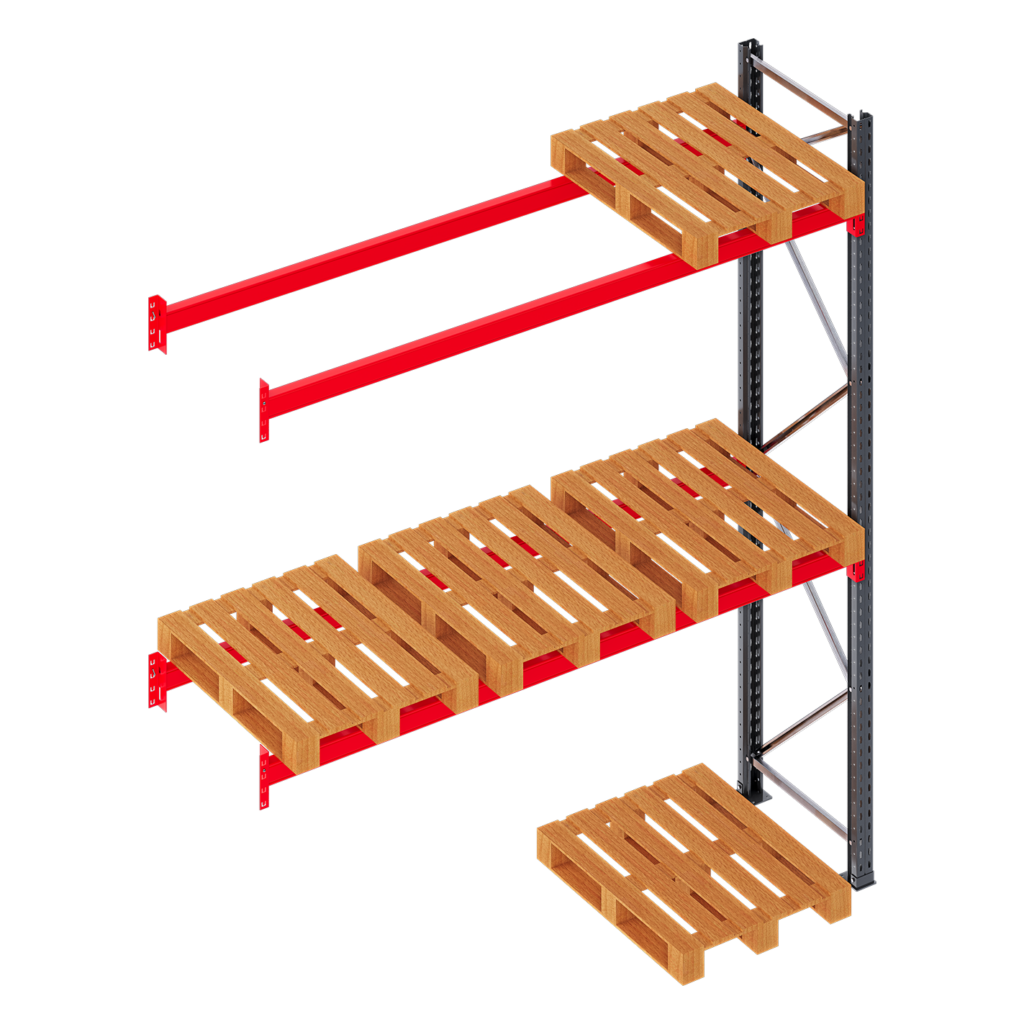

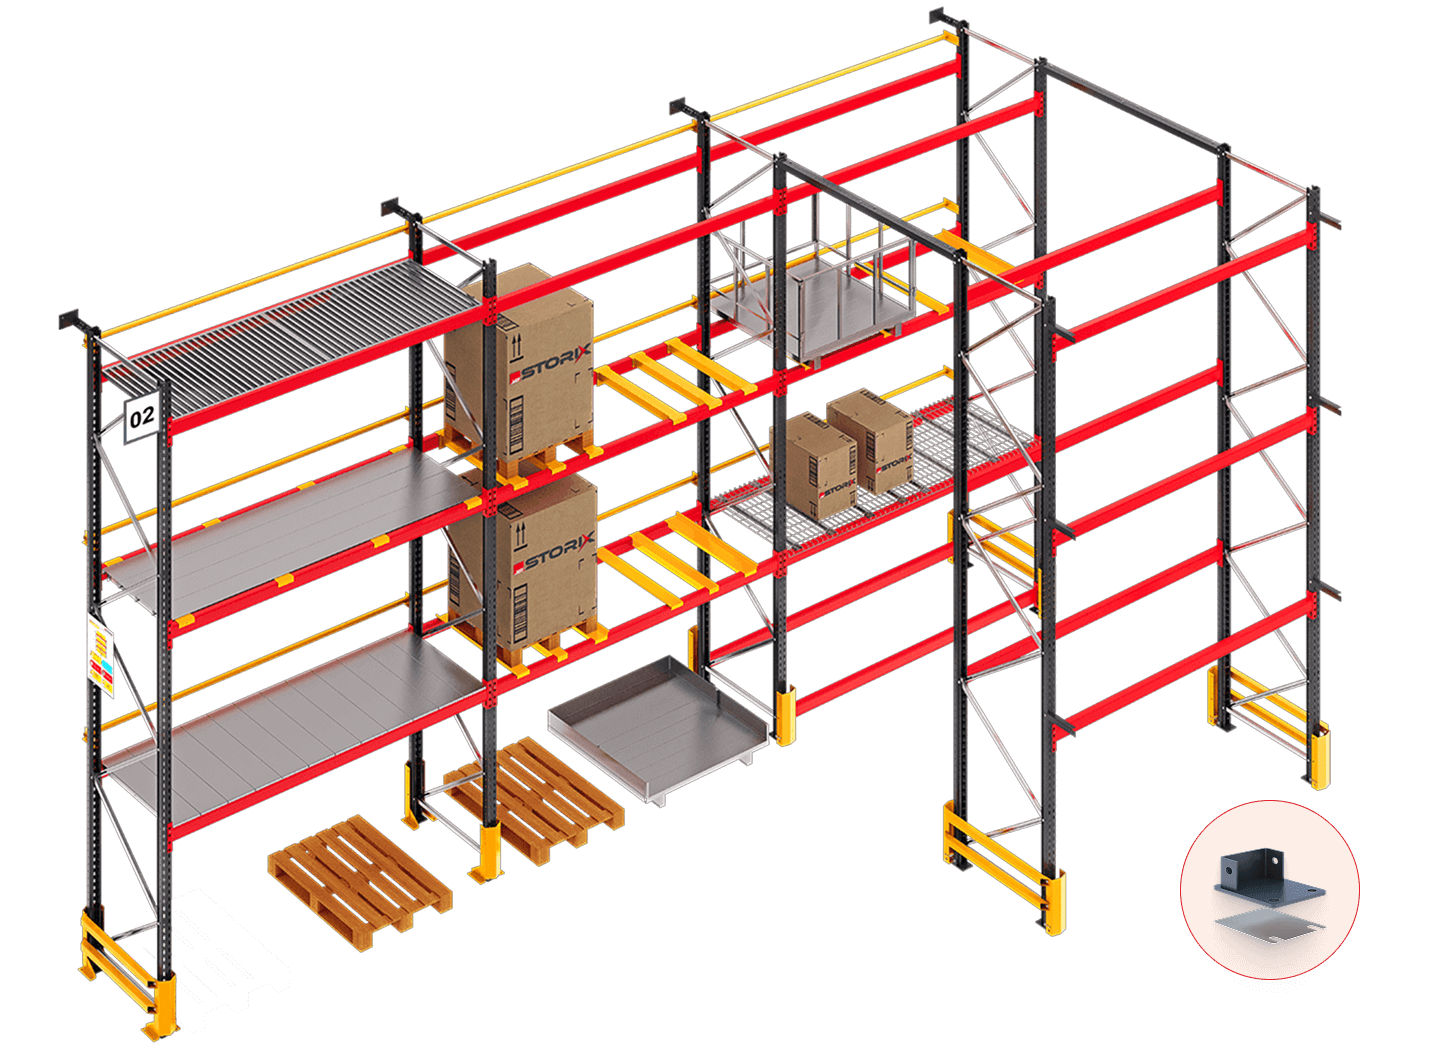
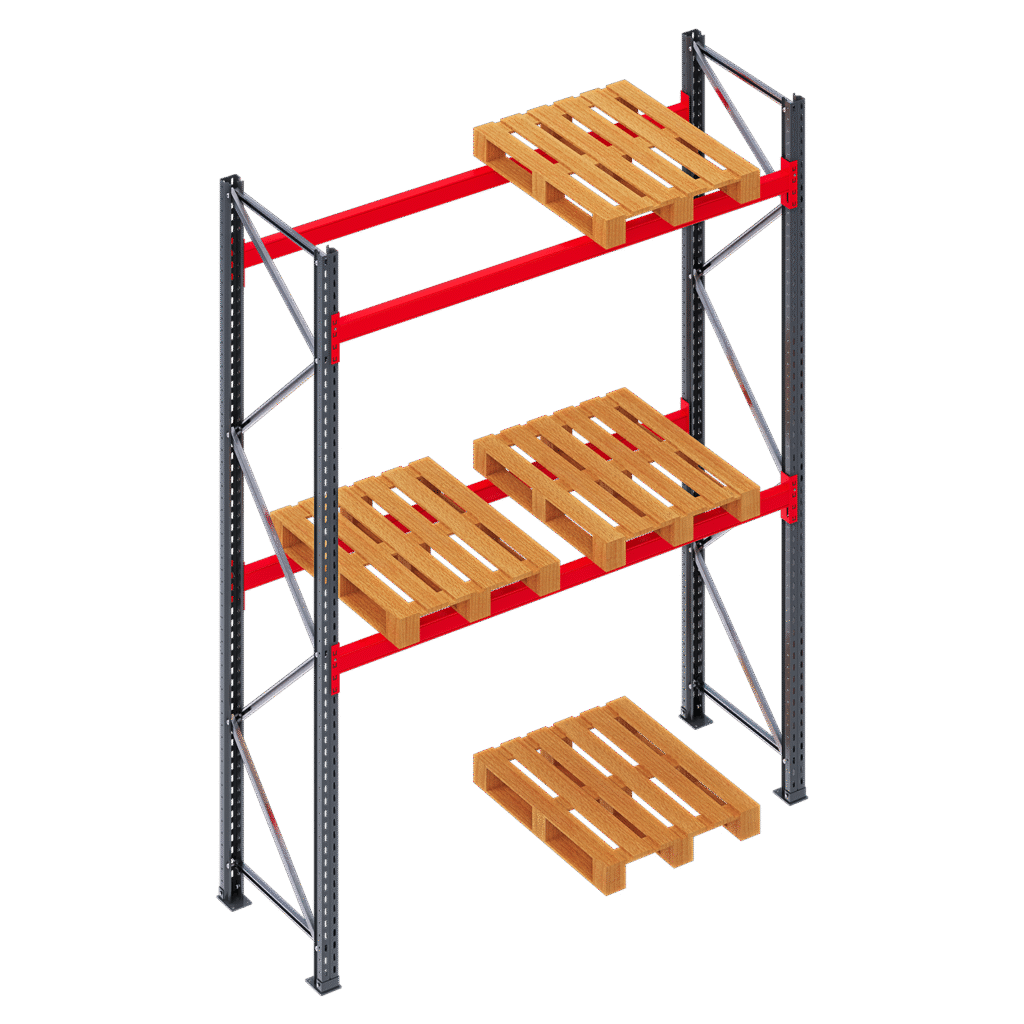
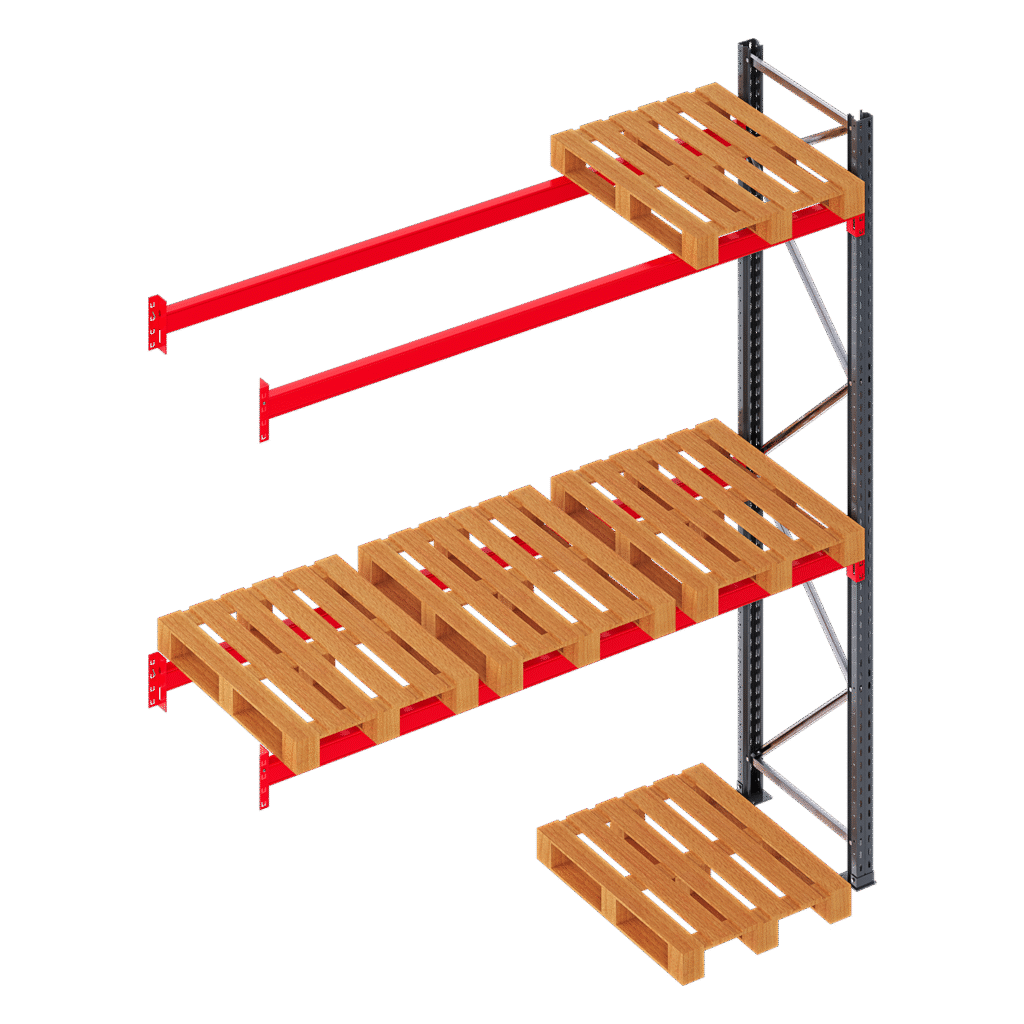
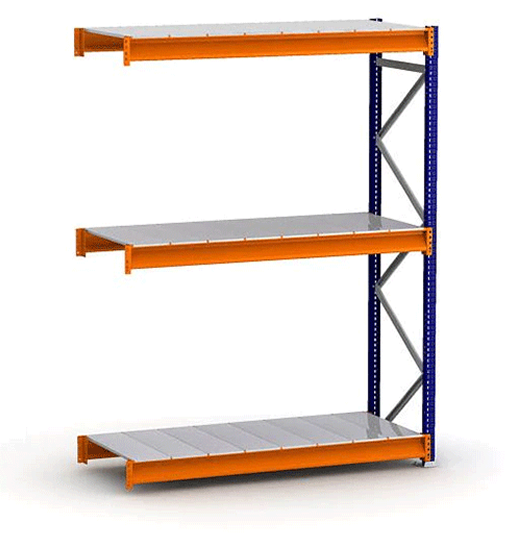
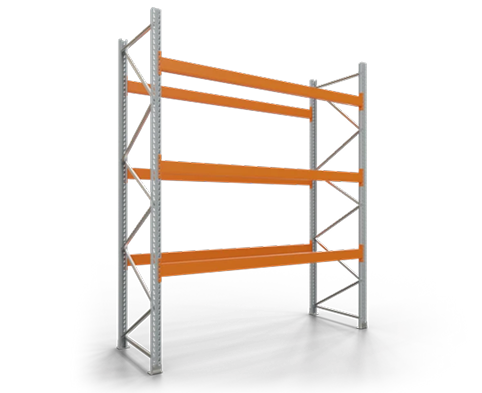
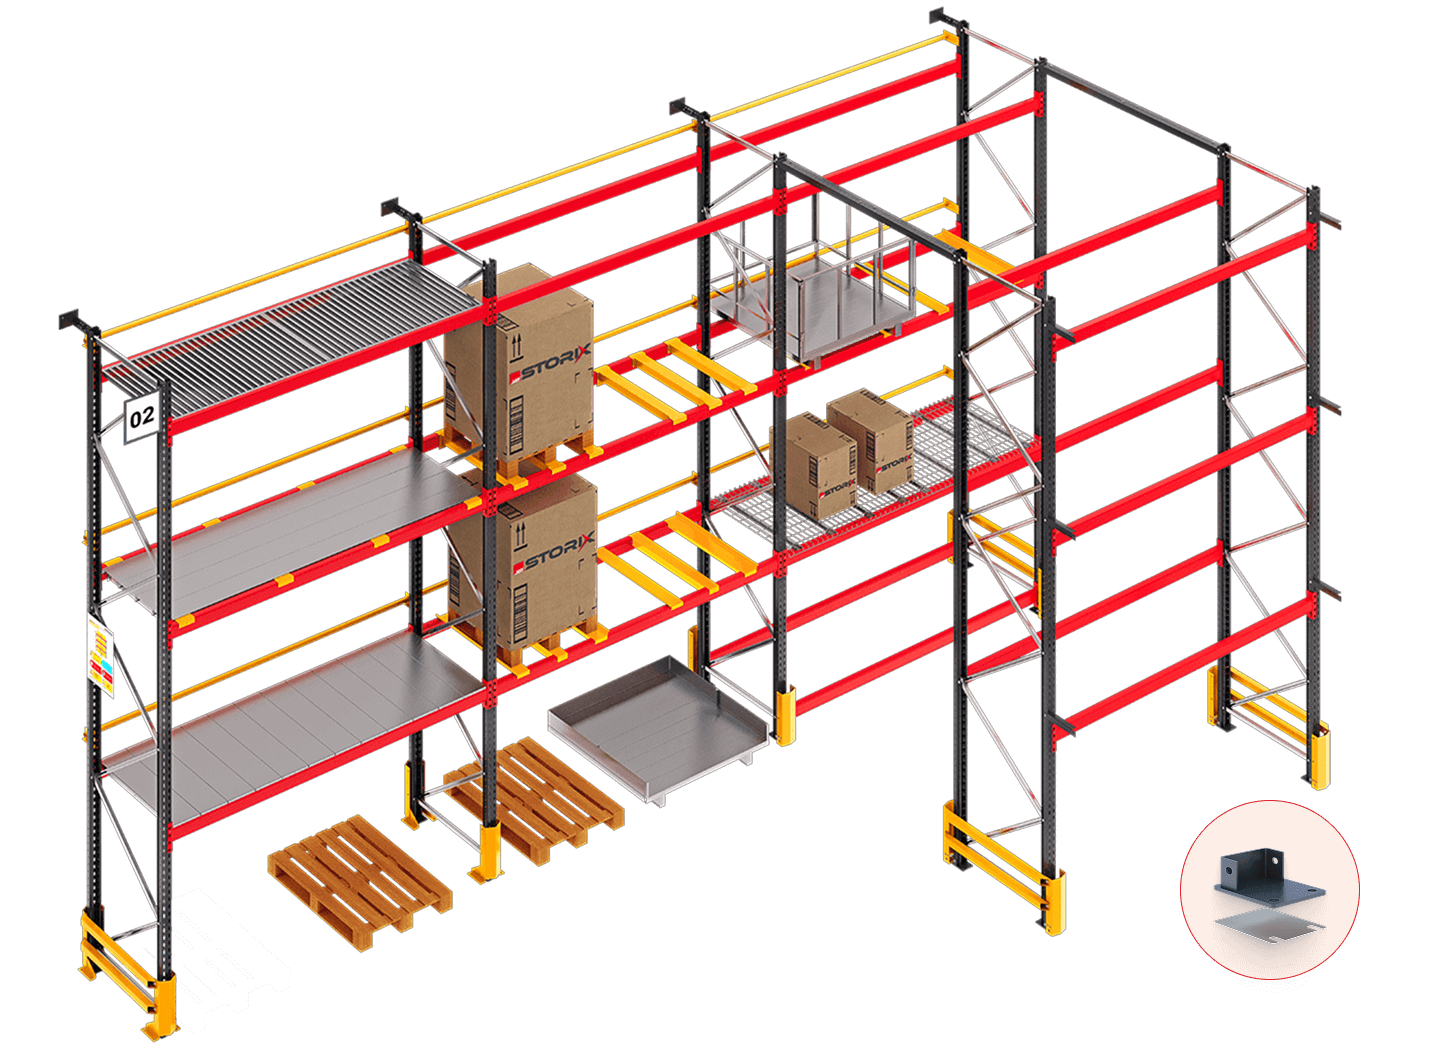
Frame — Vertical structure that supports beams
and holds the racking system. It is made with
vertical components called uprights.
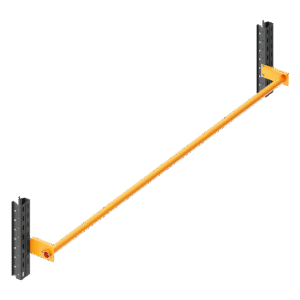
Horizontal & Diagonal Bracing — Provides lateral
stability to prevent racking from swaying, and
connects the 2 uprights together.
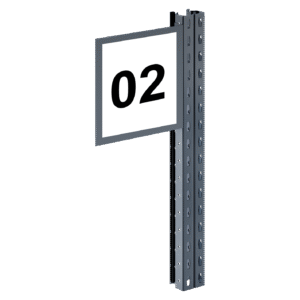
Aisle Identification Board — Labels aisles
for easy identification and organisation.
Rack Load Notice — Displays the load capacity
of the racking system to ensure safe usage.
Upright Guard — Protects each upright from
damage due to forklifts or other
equipment. It is of 2 types
U-shaped & L-shaped,
both of these serve the same
purpose but have different considerations.
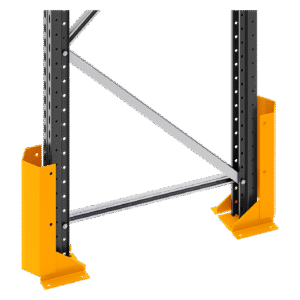
Frame Guard — Protects each frame from
damage due to forklifts or other
equipment.
It is of 2 types U-shaped & L-shaped,
both of these serve the same
purpose but have different considerations.
Row Spacer — Maintains distance
between racks, ensuring stability.
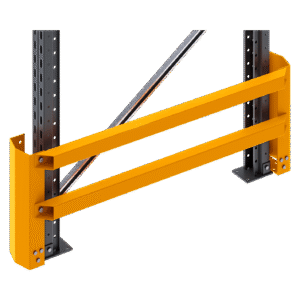
Top Tie Beam — Connects frames at the top,
adding stability and preventing flexing.
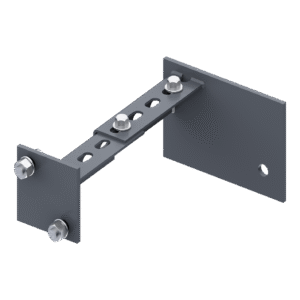
Wall Connector — It is a metal
component used to anchor or
connect the racking
structure to a nearby wall
for extra stability and safety
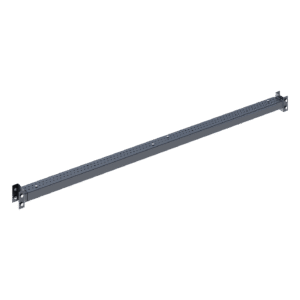
Welded Pallet Support Bar
— It is a safety and load support accessory
that supports
pallets across the beam.
Z Type Pallet Support Bar
— It is a safety and load support accessory
that supports pallets across the beam.
It also acts a guide while placing
pallets to avoid any
incidents.
Panel Type Pallet Support Bar
—It is a safety and load support
accessory that supports pallets across the beam.
Welded Panel Support Bar
— It is a safety and panel
support accessory that supports
various decks across the beam.
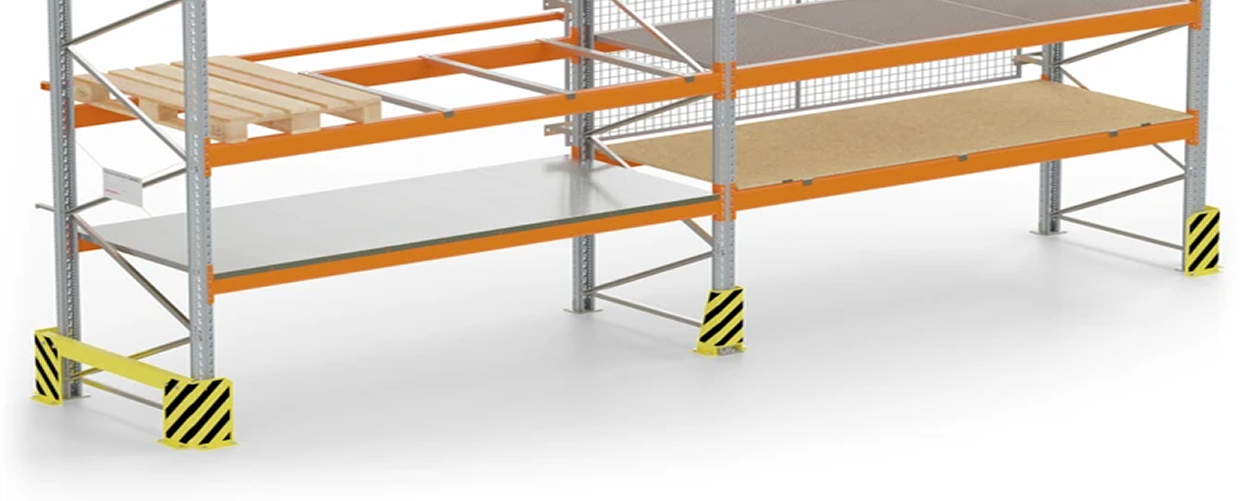
Pallet Stopper
— Prevents items from falling
off the back of the rack.
Levelling Shims
— Corrects any unevenness in the floor,
ensuring the rack is level.
The upright leg is placed on the shim.
Upright Leg — or a Footplate. This is where the upright rests upon.
The leg is anchored into the
floor to ensure sturdiness.
Panel
— Panels are placed on the beams
that provide acontinuous surface for irregular
shaped items, loose items, or different /odd shaped pallets.
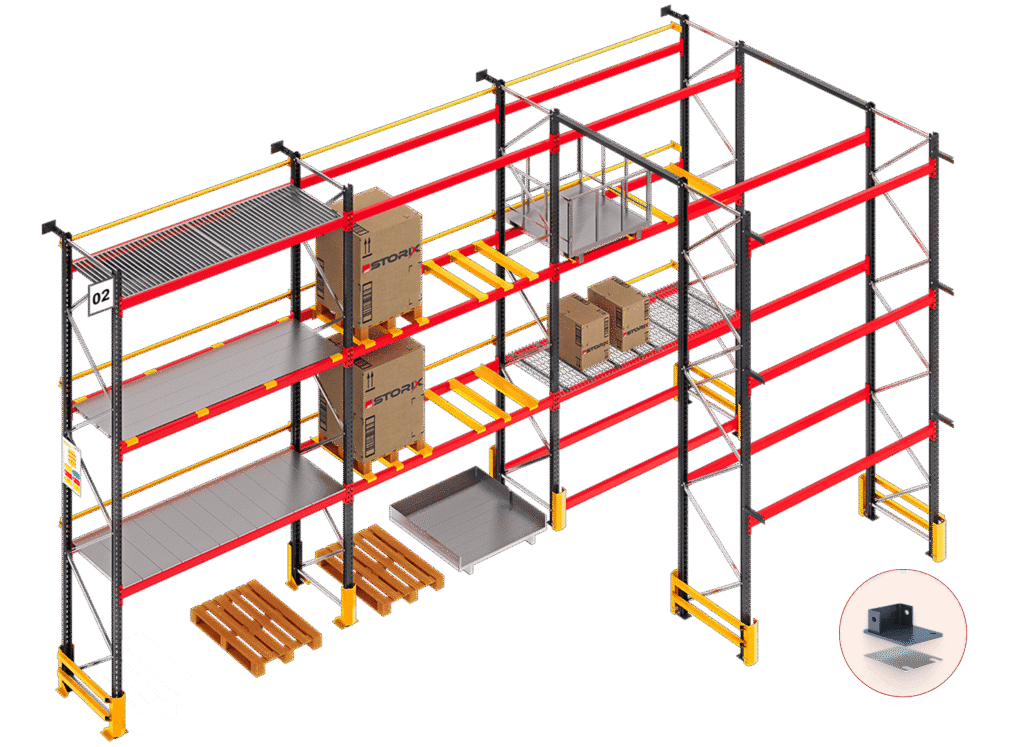

Frame — Vertical structure that supports beams
and holds the racking system. It is made with
vertical components called uprights.
Horizontal & Diagonal Bracing — Provides lateral
stability to prevent racking from swaying, and
connects the 2 uprights together.
Aisle Identification Board — Labels aisles
for easy identification and organisation.
Rack Load Notice — Displays the load capacity
of the racking system to ensure safe usage.
Upright Guard — Protects each upright from
damage due to forklifts or other
equipment. It is of 2 types
U-shaped & L-shaped,
both of these serve the same
purpose but have different considerations.
Frame Guard — Protects each frame from
damage due to forklifts or other
equipment.
It is of 2 types U-shaped & L-shaped,
both of these serve the same
purpose but have different considerations.
Row Spacer — Maintains distance
between racks, ensuring stability.
Top Tie Beam — Connects frames at the top,
adding stability and preventing flexing.
Wall Connector — It is a metal
component used to anchor or
connect the racking
structure to a nearby wall
for extra stability and safety
Welded Pallet Support Bar
— It is a safety and load support accessory
that supports
pallets across the beam.
Z Type Pallet Support Bar
— It is a safety and load support accessory
that supports pallets across the beam.
It also acts a guide while placing
pallets to avoid any
incidents.
Panel Type Pallet Support Bar
—It is a safety and load support
accessory that supports pallets across the beam.
Welded Panel Support Bar
— It is a safety and panel
support accessory that supports
various decks across the beam.
Pallet Stopper
— Prevents items from falling
off the back of the rack.
Levelling Shims
— Corrects any unevenness in the floor,
ensuring the rack is level.
The upright leg is placed on the shim.
Upright Leg — or a Footplate. This is where the upright rests upon.
The leg is anchored into the
floor to ensure sturdiness.
Panel
— Panels are placed on the beams
that provide acontinuous surface for irregular
shaped items, loose items, or different /odd shaped pallets.