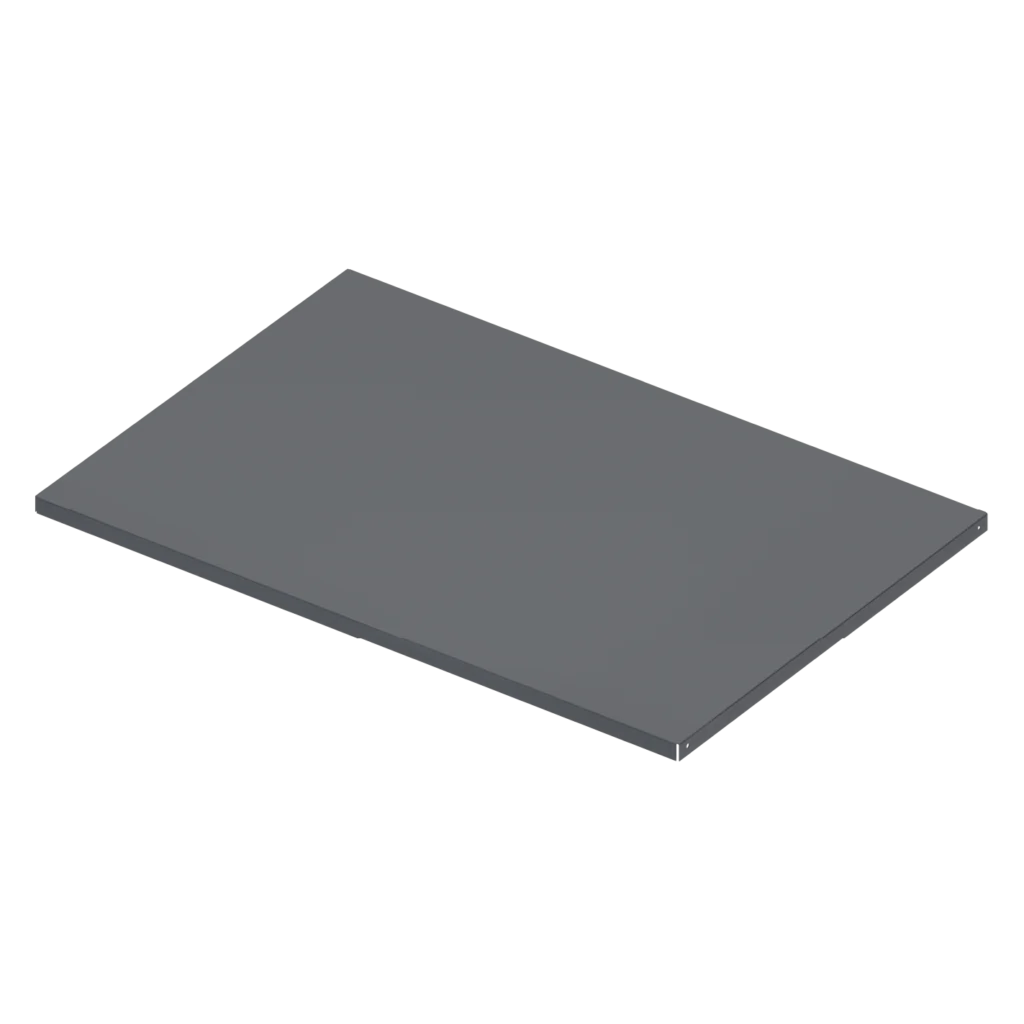
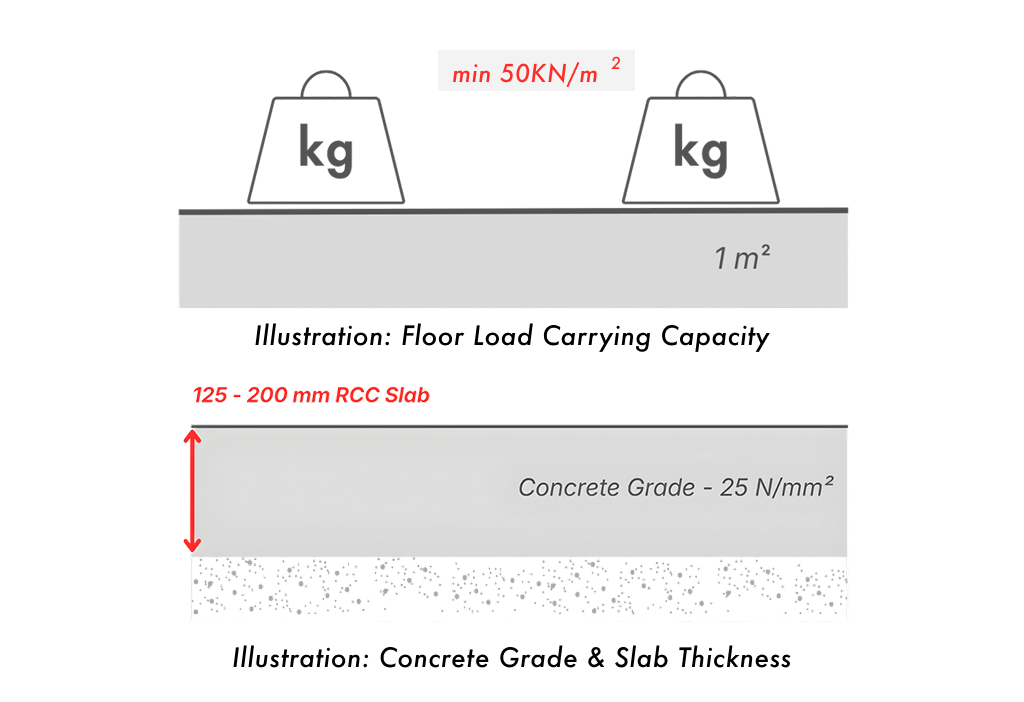
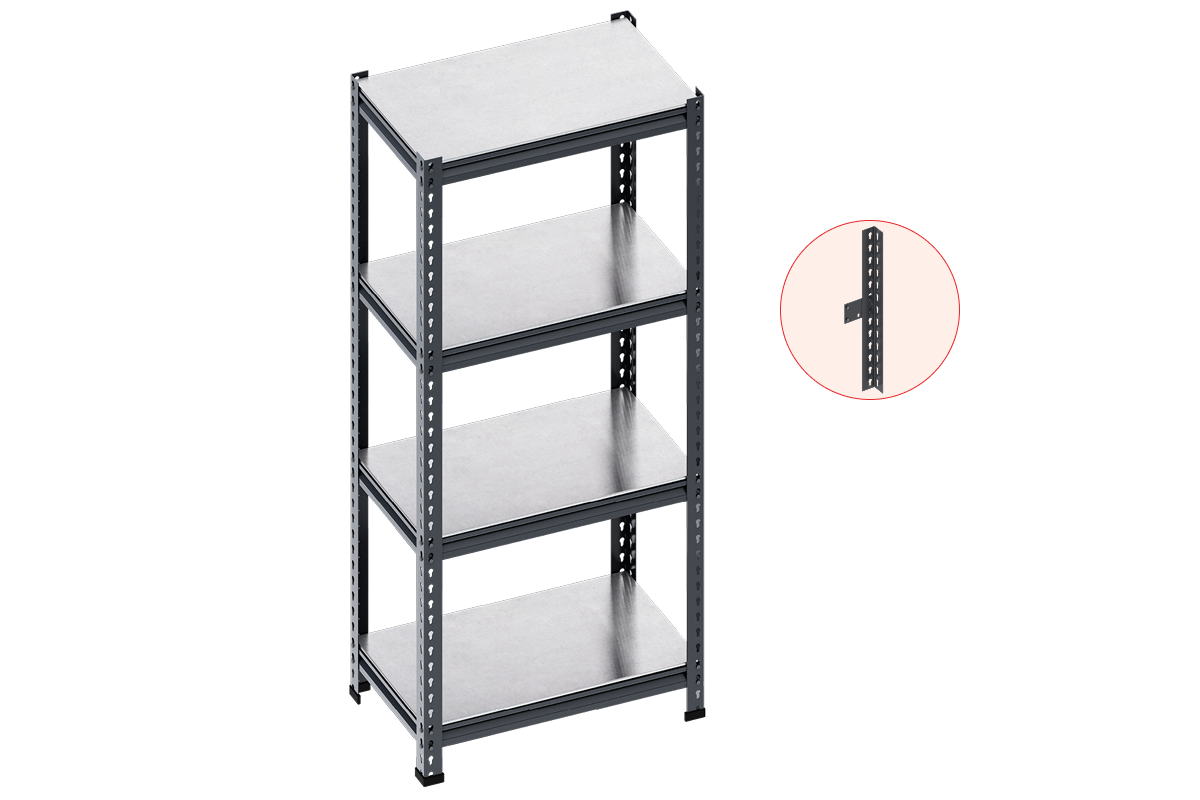
Panel: Panels provide the flat surface for storing items,
designed to fit securely between angles and beams.
Some panels include stiffeners for extra support,
ensuring that light to medium weight loads remain safe and stable.
Beam: Beams, available in Z and C profiles, support the
shelves horizontally across the rack. Z beams are ideal for
standard configurations, while C beams are used for taller or deeper racks
with cross supports, offering enhanced rigidity and load-bearing capacity.
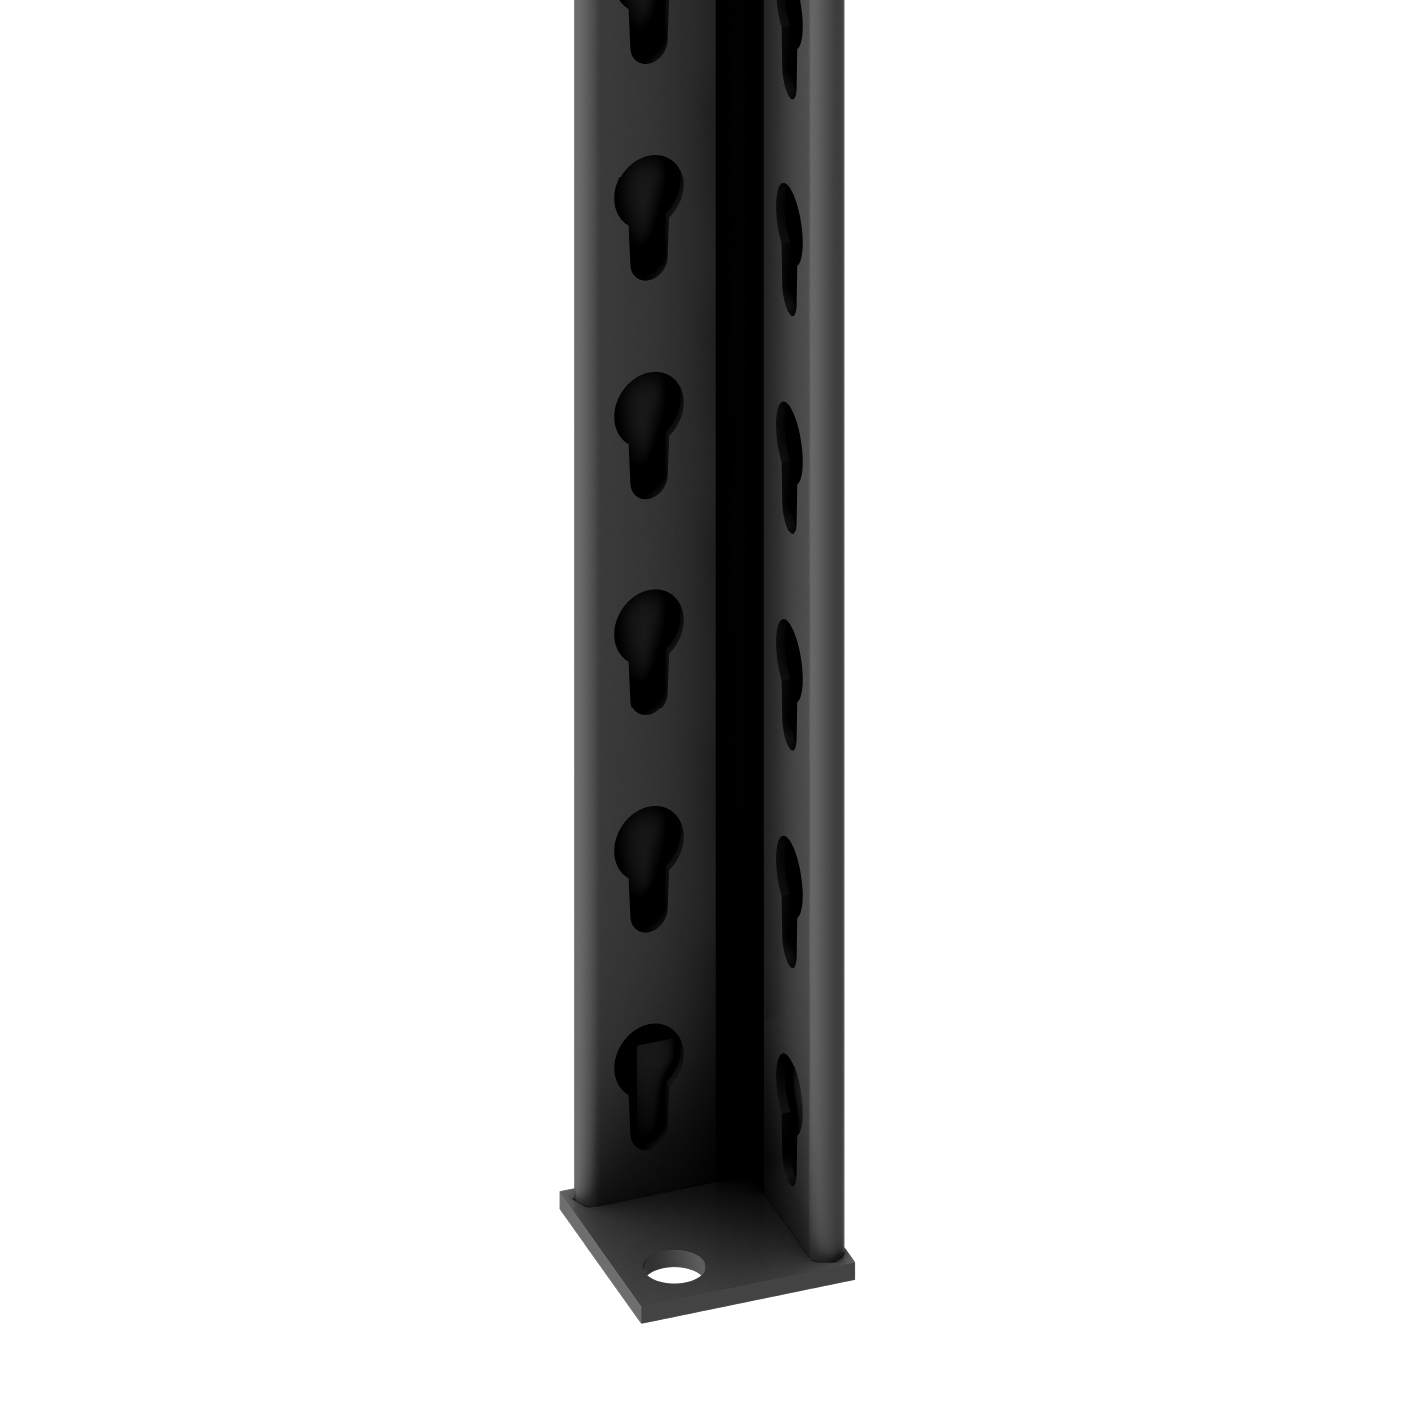
Angle: The angles feature keyhole punches with a clean finish
and superior durability. They provide the vertical framework of the rack,
offering strength, rigidity, and long-term reliability for frequent use.
Rubber Shoe: The shoe serves as a foundation for the rack,
enhancing its stability. It ensures that your angles remain upright
and secure, even under medium-weight loads.
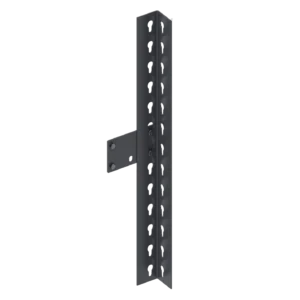
Joiner Cleat